|
In InDesign CS you can set your own paper sizes. This can be convenient if you often use paper sizes that are not of standard size.
This is how you do it:
|
|
|
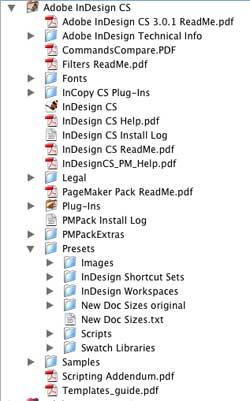
1. Go to the InDesign CS application folder.
2. Find the document called New Doc Sizes.txt
3. Open it in a text editor (in OS X Text Edit is fine for this kind of job).
|
|
4. Scroll to the bottom of the document until the very end.
5. Type your page sizes with the measures you normally use. Do a carriage return after each page size.
NOTE! The above is an example on two (2) paper sizes set in millimeters. They are actually the same sizes even if it looks like two different ones. It doesn't matter if the width or the heights is set first or last as the orientation of the paper is NOT set here. Here you only set the SIZE of the paper.
|
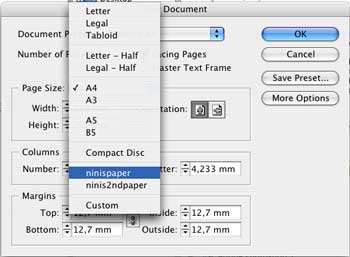 |
6. Create a New document and at Page Size choose your new paper size.
|
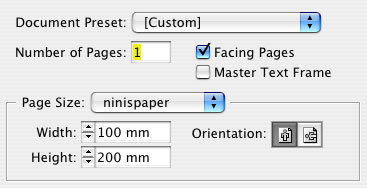 |
Note that the Document Preset switches to [Custom] when you do that.
|
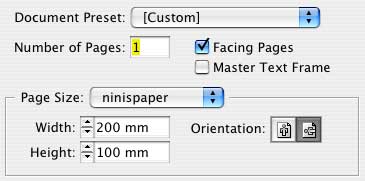 |
7. If you want horizontal orientation, you choose it with the Orientation button as the paper size setting is only for the size of the paper, not for the orientation.
|
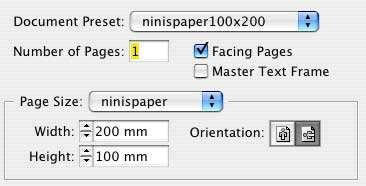 |
8. To save the orientation together with the paper size, press the button Save Preset..., give it an explanatory name and save the Preset. It will then be available for choosing in the Document Preset button next time you create a New document.
|
|
Page last updated 2011-01-09 at 19.13.04
BACK TO TUTORIALS AND LINKS CONTENT
|
